Important: There is currently no option to generate or create a logo directly within the AI chat builder. Logo creation must be done externally or through upcoming tools (see below).While it’s possible to upload a logo directly via the chat builder, this method bypasses the centralized branding workflow, which can lead to inconsistencies across your app.
Why Use the Brand Section to Upload Your Logo?
Managing your logo in the Brand section offers several critical benefits:- Consistent Branding: Your logo updates everywhere in your app automatically.
- Favicon Sync: The browser tab icon (favicon) stays perfectly matched to your logo.
- Accurate Previews: The app preview on your apps listing page always shows the latest version.
- Streamlined Workflow: Centralized control keeps your branding process clean and professional.
What if You Don’t Have a Logo Yet?
If you don’t have a logo ready, the best solution is to create one using an external design tool or service. You can then upload your finished logo via the Brand section for seamless integration.Coming Soon! We’re excited to introduce the AILogoMaker tool as part of BuildAI.Space. This upcoming feature will simplify logo creation with AI assistance, but for now, you’ll need to use external tools.
How to Upload Your Logo via the Brand Section
Step 1: Open the Brand Section
From your app’s main dashboard, locate the left side panel and click the palette icon or the section labeled “Brand” to open the branding settings.Step 2: Upload Your Logo
Scroll to the Logo area within the Brand section. Here, click the upload button or drag and drop your logo file. Supported formats are PNG and JPG.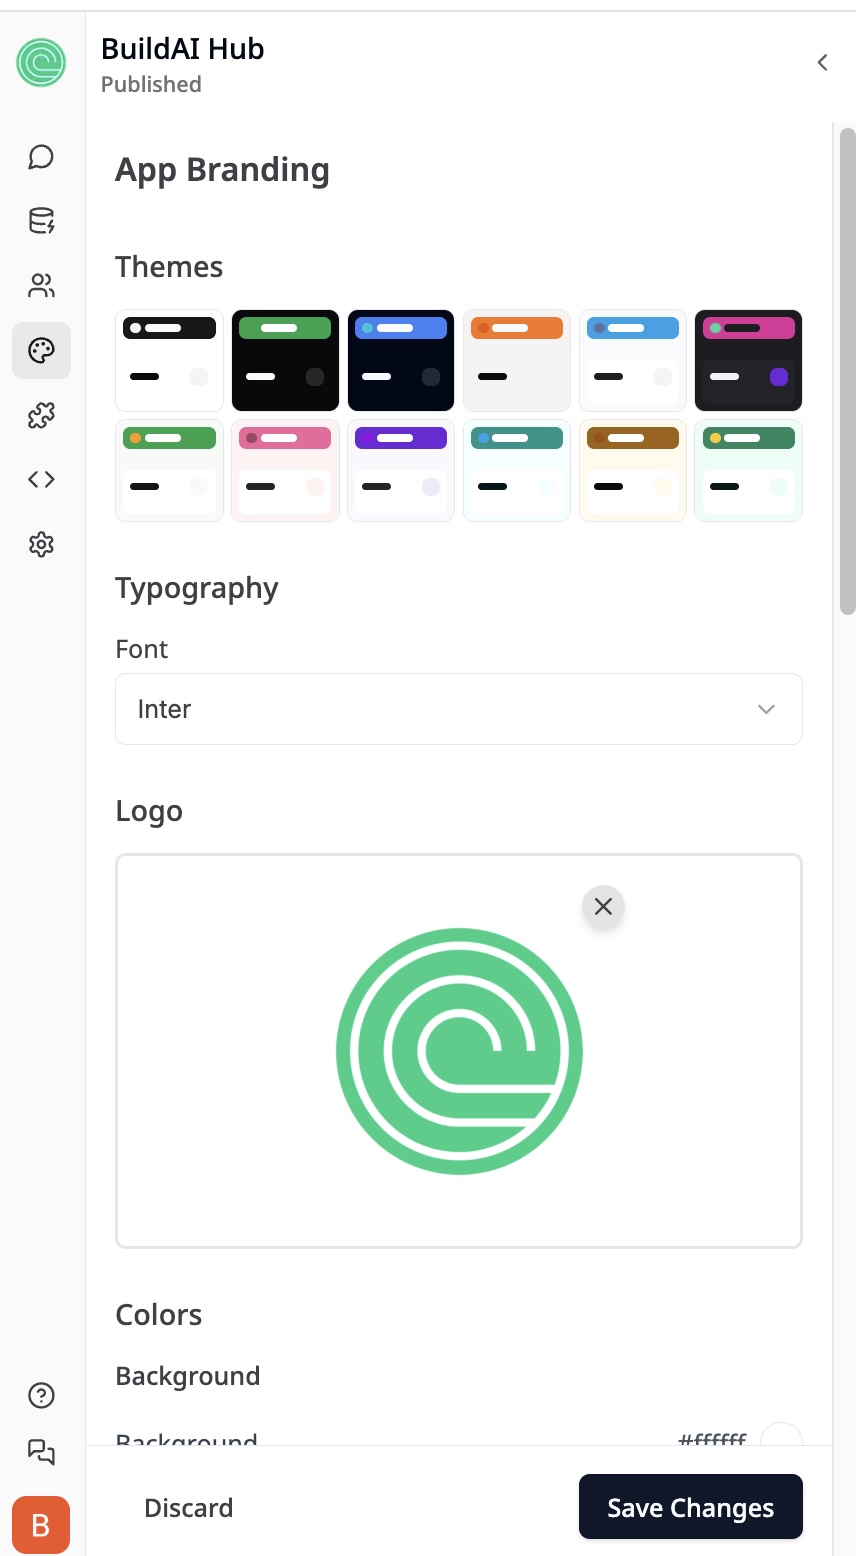
Step 3: Save Your Changes
After uploading your logo, be sure to click Save Changes at the bottom of the panel to apply your new branding throughout your app.What Happens After Uploading?
Once saved, your new logo will update everywhere across your app, including:- The app’s main interface.
- The browser tab favicon.
- Your app’s preview on the apps listing page.
- Any other locations where your app branding appears.
Important Note: No Logo Generation in Chat Builder
Currently, the AI chat builder does not include any feature to generate or create logos. All logo uploads must be done manually via the Brand section after designing your logo externally. Avoid trying to upload logos directly through the chat builder, as this bypasses the official branding workflow and can cause inconsistencies.Quick Tips for Uploading Your Logo
- Use a high-quality PNG or JPG file for the best visual results.
- Opt for transparent backgrounds (PNG) if your logo will appear over various backgrounds.
- Always preview your app after uploading to confirm your logo displays correctly.
- Avoid uploading logos through the chat builder; always use the Brand section for consistent updates.
Summary
- Access the Brand section from your app’s left panel.
- Upload your logo in the Logo area.
- Click Save Changes to apply your logo across your app.
- This method guarantees consistent branding across the interface, favicon, app previews, and more.
- If you don’t have a logo, create one externally and upload it via the Brand section.
- Remember, there is no option to generate logos inside the AI chat builder.
- Look forward to the upcoming AILogoMaker tool in BuildAI.Space for easy AI-assisted logo creation!
Stay tuned for exciting updates, and happy branding!