Overview
The Custom Email Sender feature allows you to send emails from your own domain instead of the default BuildAI email address. By configuring a custom email domain, you can enhance your brand consistency, improve email deliverability, and build trust with your recipients. Instead of emails appearing from a generic address, your communications will come from a professional address likehello@yourdomain.com.
How it Works
The Custom Email Sender feature works by connecting your domain to BuildAI through DNS verification. Here’s the process:- Domain Selection - Choose which domain you want to use for sending emails
- Sender Configuration - Set up your sender name and email prefix
- DNS Verification - Add specific DNS records to your domain provider to authenticate the connection
- Activation - Once verified, all outgoing emails will use your custom sender address
Usage Instructions
Step 1: Configure Your Email Domain
Navigate to the Custom Email Sender settings and open the configuration dialog.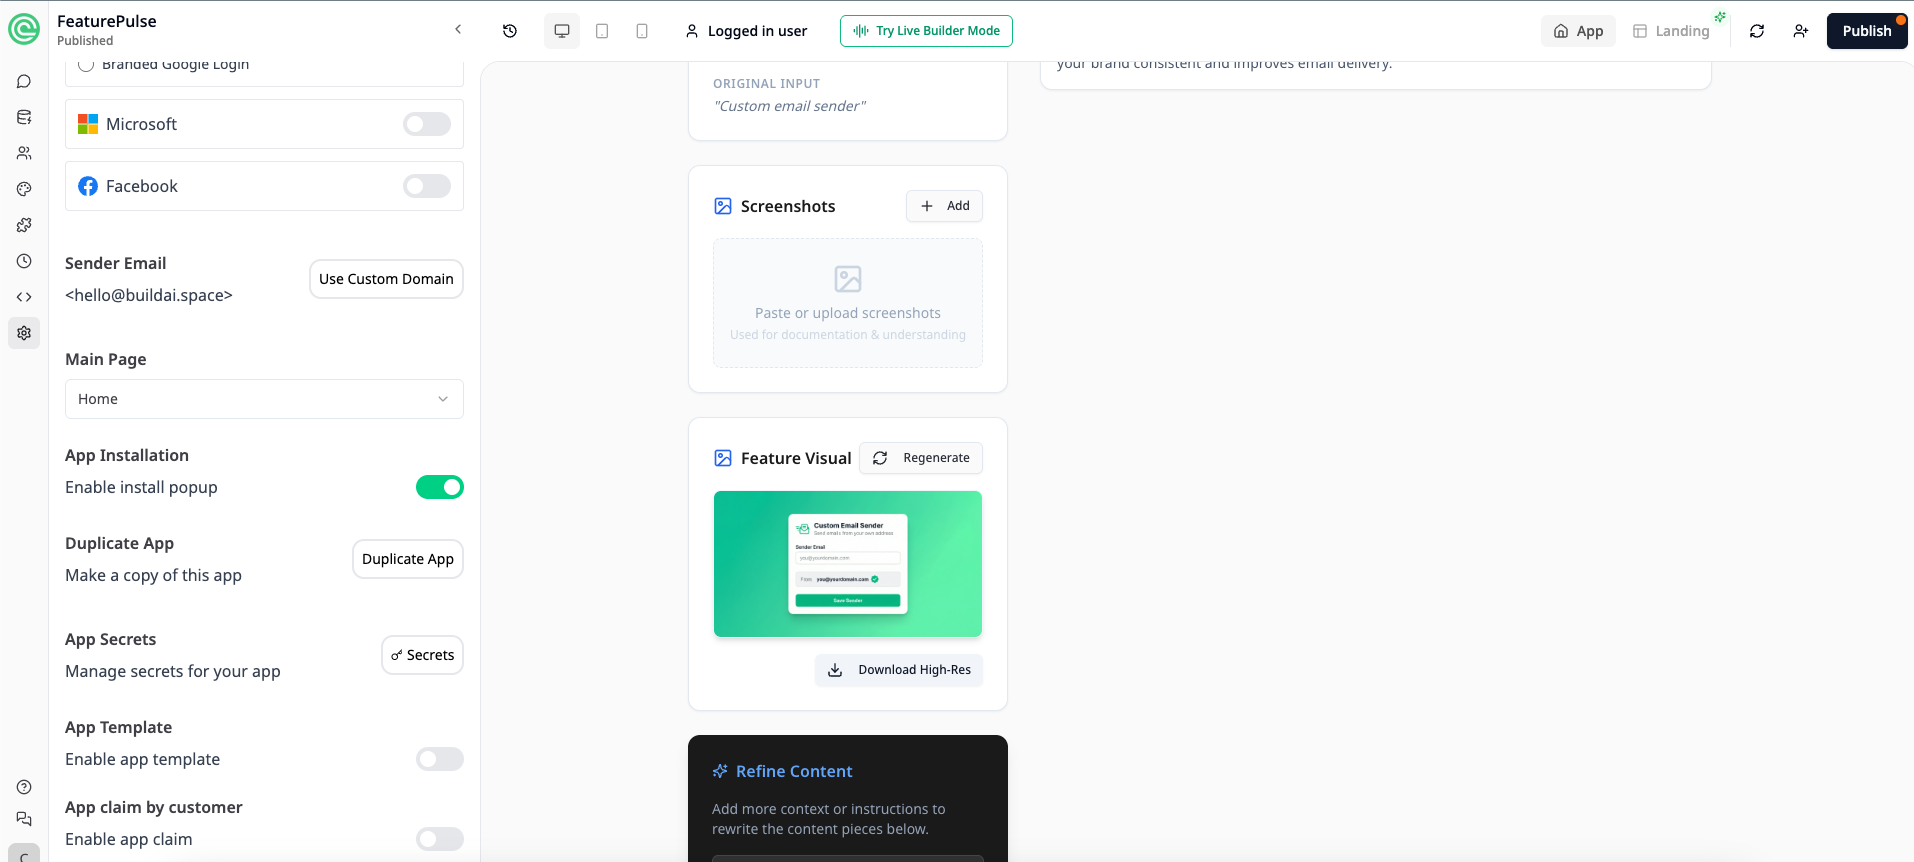 Fill in the following fields:
| Field | Description | Example |
|---|---|---|
| Select Domain | Choose your domain from the dropdown menu | yourdomain.com |
| Sender Name | The name that appears in recipients’ inboxes | Your App Name |
| Email Address Prefix | The part before the @ symbol | hello, no-reply, support |
Step 2: Configure DNS Records
After submitting your domain configuration, you’ll see the DNS Configuration screen.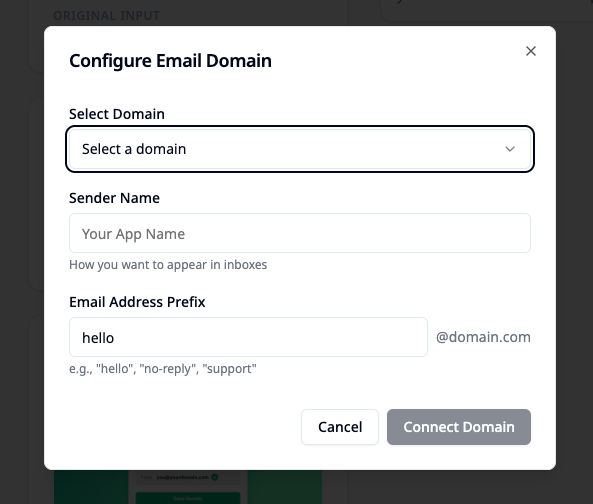 You need to add the following DNS records to your domain provider:
| Name | Type | Value |
|---|---|---|
mail._domainkey | TXT | k=rsa;p=MIGfMA0GC... |
@ | TXT | brevo-code:233888... |
- Log in to your domain provider (e.g., GoDaddy, Cloudflare, Namecheap)
- Navigate to DNS settings for your domain
- Add each TXT record with the exact Name and Value shown
- Use the copy button next to each value to ensure accuracy
Step 3: Verify Your Domain
After adding the DNS records:- Return to BuildAI and click Verify
- The system will check if your DNS records are correctly configured
- The status will update from Pending to verified once complete
Note: DNS changes can take up to 48 hours to propagate. BuildAI auto-checks every 10 seconds, so you don’t need to manually refresh.
Tips & Best Practices
- Use a recognizable sender name - Choose a name your recipients will recognize, such as your company or app name
- Select an appropriate email prefix - Common choices include:
hello- Friendly, approachable toneno-reply- For automated notifications (use sparingly)support- For customer service communications
- Don’t delete DNS records - Keep the verification records in place to maintain your custom sender configuration
- Test before going live - Send a test email to yourself to verify the sender name and address appear correctly
- Allow time for propagation - If verification fails immediately, wait a few hours and try again
FAQ
Q: How long does DNS verification take? A: DNS changes typically propagate within a few hours, but can take up to 48 hours in some cases. BuildAI automatically checks every 10 seconds once you initiate verification. Q: Can I use multiple custom email addresses? A: You can configure different email prefixes (e.g.,hello@, support@) for the same domain.
Q: What happens if verification fails?
A: Double-check that you’ve entered the DNS records exactly as shown, including the record type (TXT). If issues persist, contact your domain provider to ensure the records were saved correctly.
Q: Will this affect my existing email setup?
A: Adding these TXT records should not interfere with your existing email configuration. They are specifically for authenticating BuildAI as an authorized sender.
Q: Can I revert to the default BuildAI sender?
A: Yes, you can disconnect your custom domain at any time to return to the default sender address.